Hexo搭建个人博客教程
环境配置
| 环境名称 | 环境版本 | 命令 | 官网 |
|---|---|---|---|
| Git | 2.42.0 |
git --version |
https://git-scm.com/download/win |
| Node.js | 18.18.0 |
node -v |
https://nodejs.org/zh-cn/ |
安装Hexo框架
- 安装
cnpm工具
1 | |
- 安装
Hexo
1 | |
- 查看
Hexo版本
1 | |
搭建博客
创建存放
Hexo项目的文件夹,在文件夹内右键选择Open Git Bash here输入命令
hexo init,进行项目初始化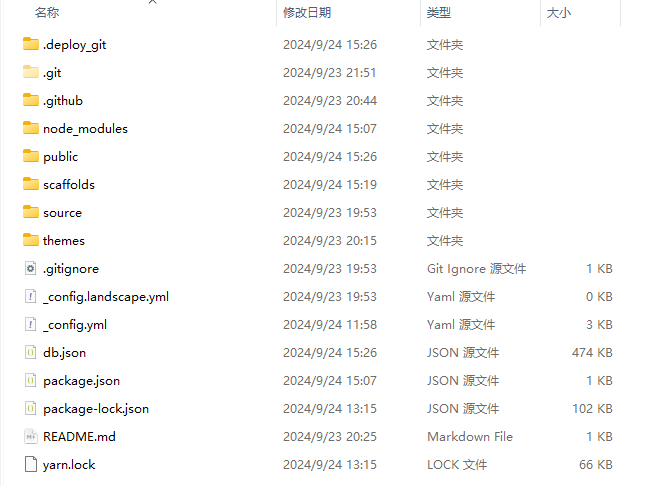
输入命令
hexo s开启本地预览服务,打开浏览器访问http://localhost:4000即可看到博客内容更换主题
官方网址: Themes | Hexo
选择一款自己喜欢的主题,点击链接跳转至
github页面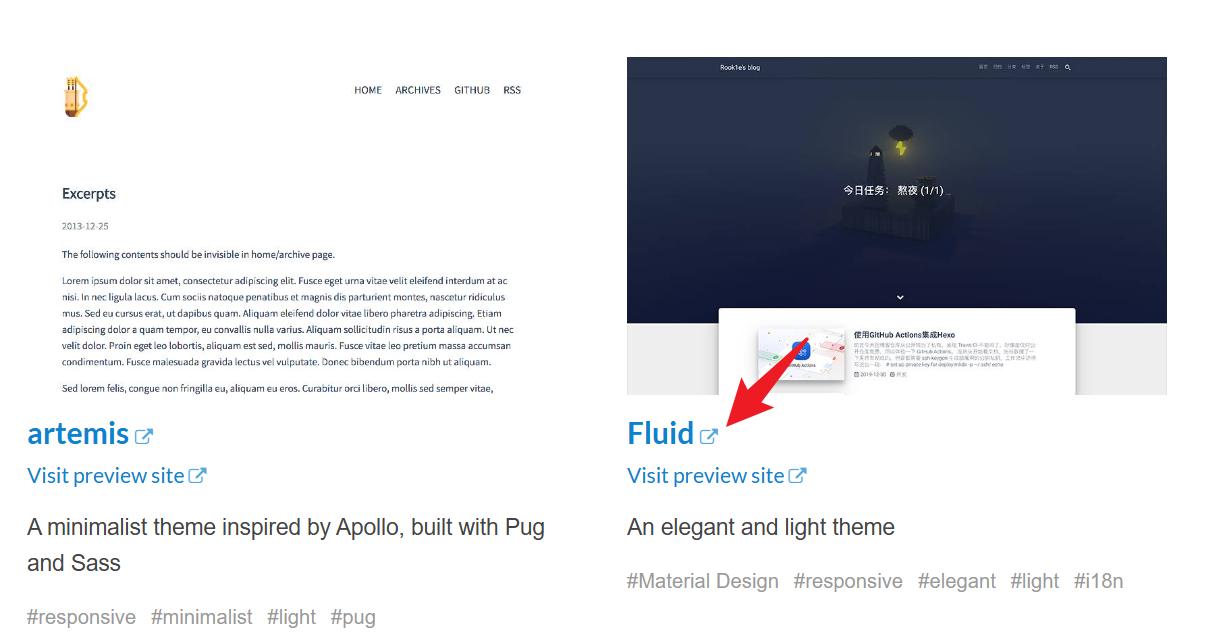
复制主题的http链接和主题名
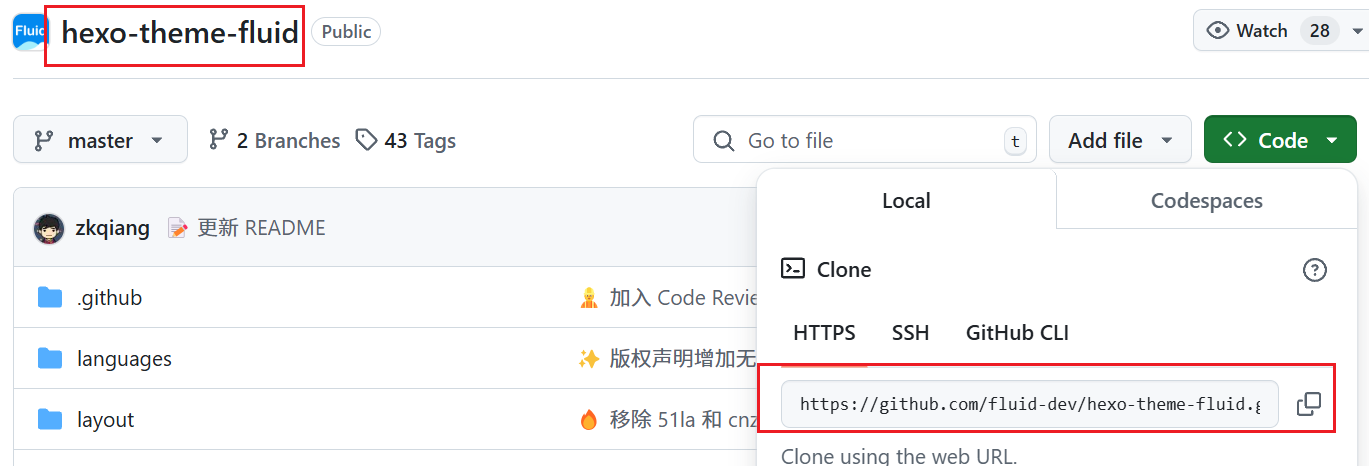
在项目文件夹下的
git窗口中执行命令
git clone https://github.com/fluid-dev/hexo-theme-fluid.git themes/fluid
修改
_config.yml文件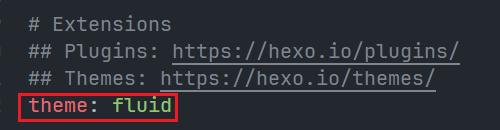
预览效果
1
2
3
hexo clean //执行此命令后继续下一条
hexo g //生成博客目录
hexo s //本地预览
部署至Github Page
默认已有 Github 账号
使用
git设置github的用户名和邮箱1
2git config --global user.name "GitHub 用户名"
git config --global user.email "GitHub 邮箱"创建添加密钥,一路回车
1
ssh-keygen -t rsa -C "GitHub 邮箱"复制
id_rsa.pub文件中的内容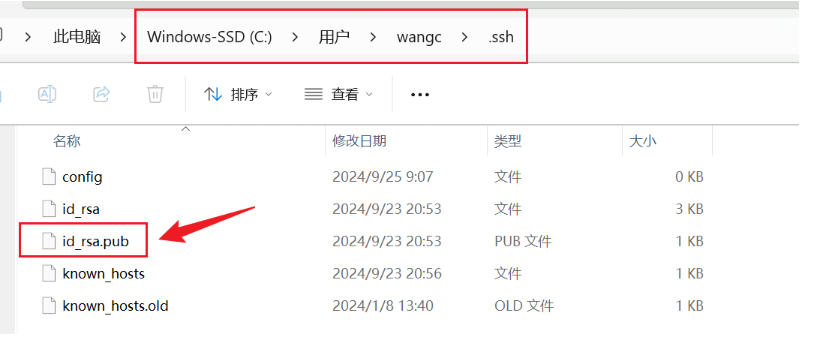
在
Github中创建SSH Key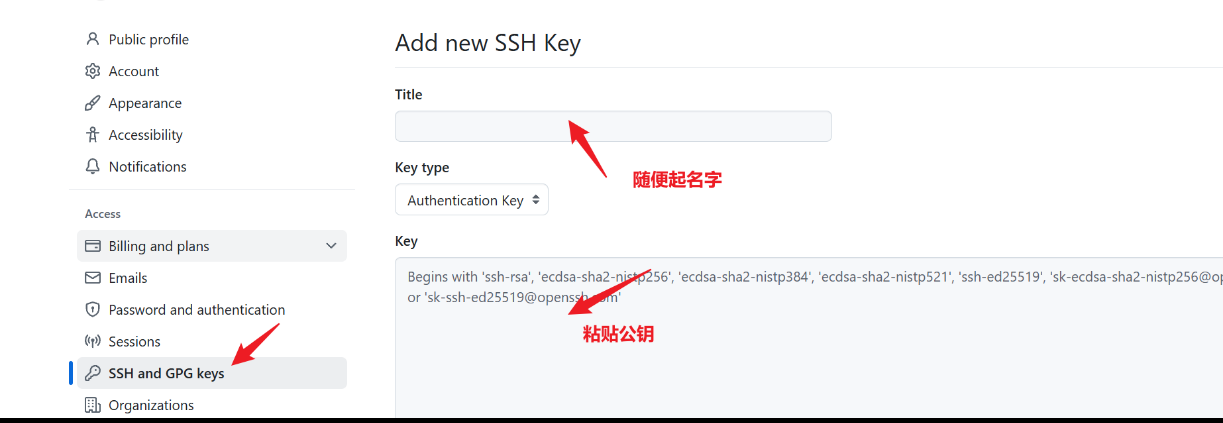
验证是否成功
ssh -T git@github.com
安装部署工具
npm install hexo-deployer-git --save在
Github上创建一个仓库,命名格式:用户名.github.io
修改
_config.yml文件
在git中执行命令
hexo d在浏览器输入网址:
用户名.github.io,即可自动补全https
在后续更新博客,想要部署上线时,执行
hexo d -g命令,重新编译项目
进阶玩法
网页访问统计
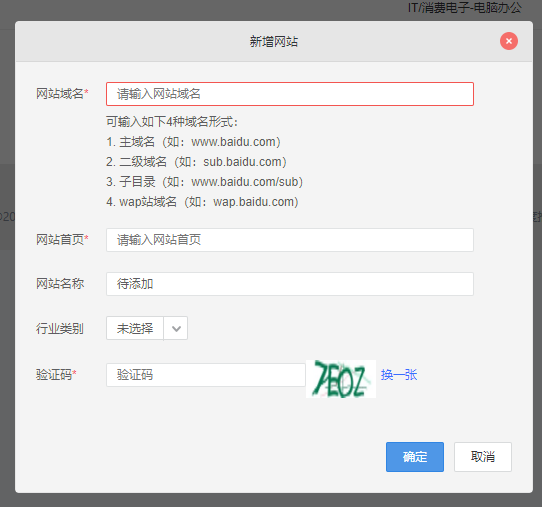
打开 https://tongji.baidu.com/sc-web/10000033910/home/site/getjs?siteId=13751376
在网站列表页新增网站
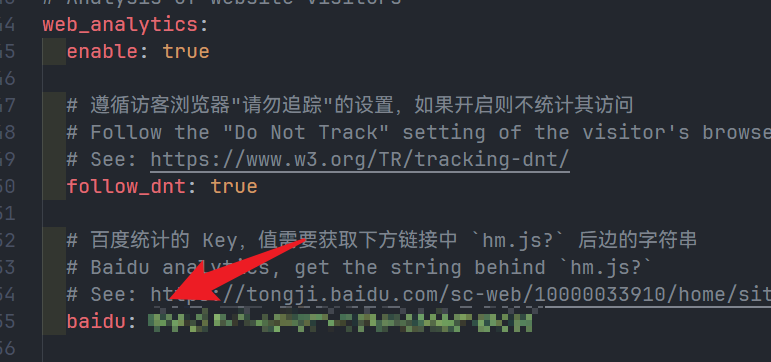
在代码获取页复制百度的 ID
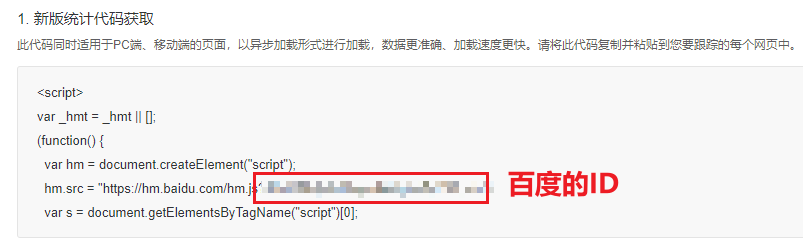
添加到 _config.yml 中
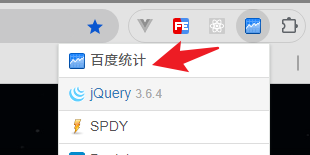
安装插件,检查百度是否成功检测自己的网站
网址:https://chromewebstore.google.com/detail/library-sniffer/fhhdlnnepfjhlhilgmeepgkhjmhhhjkh
UV、PV统计
使用不蒜子进行统计,不需要申请账号,直接开启即可
引入不蒜子
header.ejs
1 | |
添加标签
footer.ejs
1 | |
优化建议
修改文章模板
文章的默认模板位置在此处:
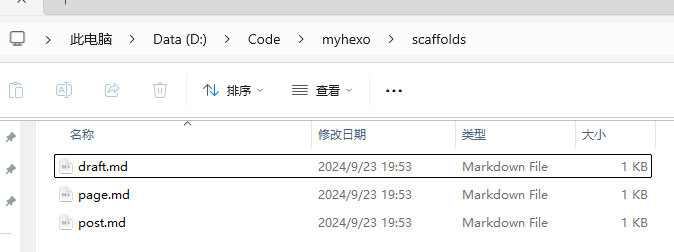
文章的默认模板是:

我的模板:
1 | |
冒号后面不能有空格!!!